Private Cloud Connectivity - Edit resource
In this guide, we will walk you through the steps to modify a cloud connector in designed status.
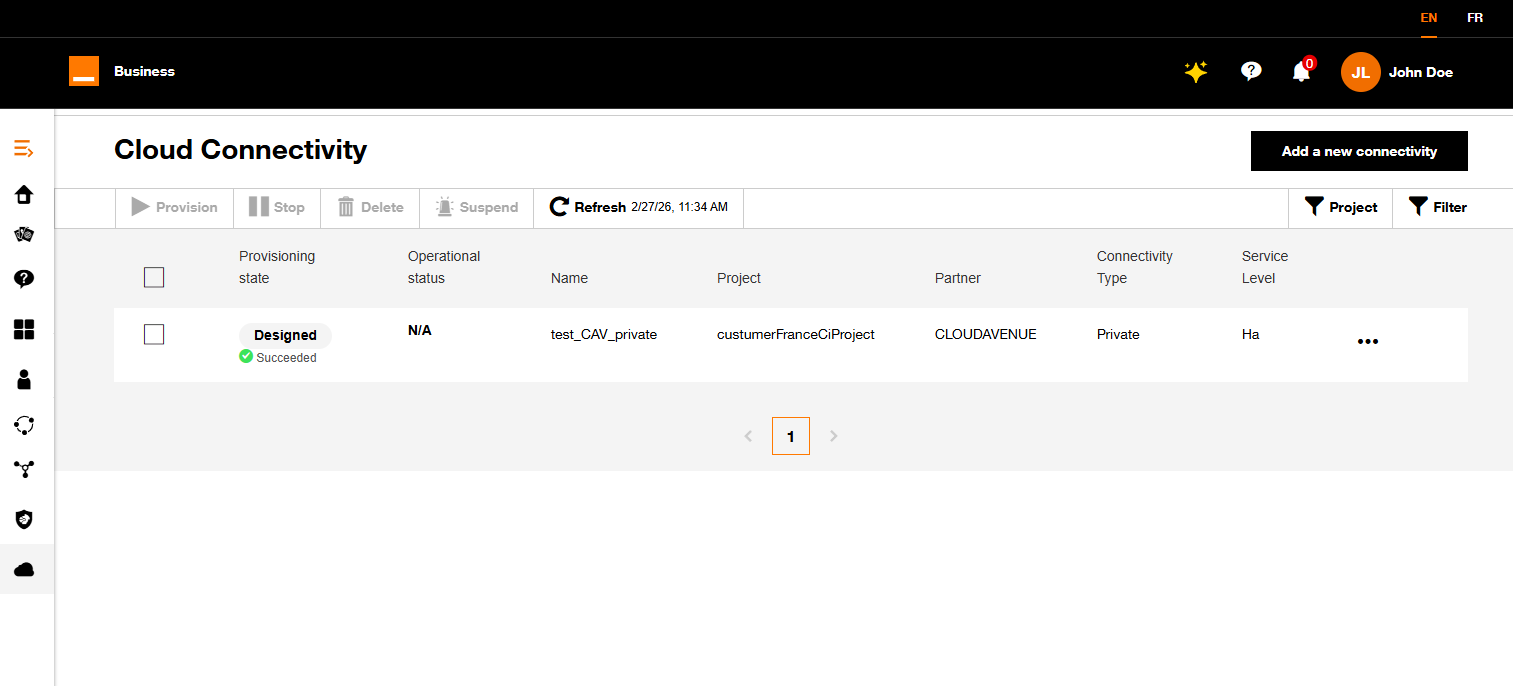
From the Inventory, select the cloud connector
Only a cloud connector in Designed status can be modified.
Select the cloud connector in the inventory and click on the tree dots on the right and click on "Edit resource":
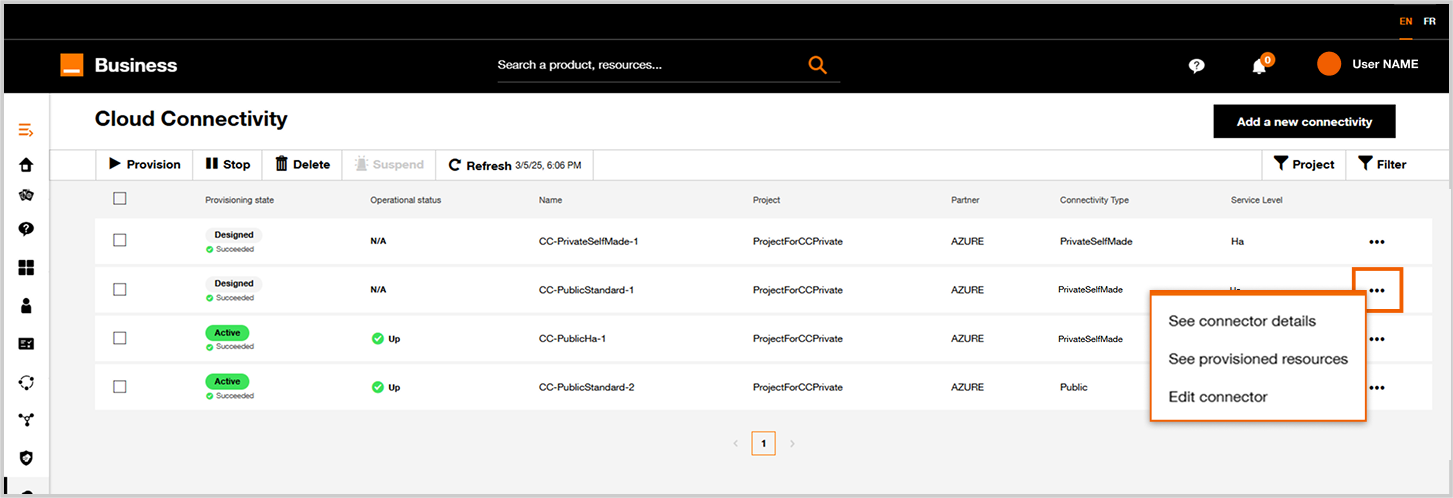
Cloud connector inventory.
Step 1 : Project

Update connector form step 1.
You can't change the project attached to a cloud connector.
You have to create a new cloud connector with the corresponding project.
Step 2 : Modify Cloud connector parameters
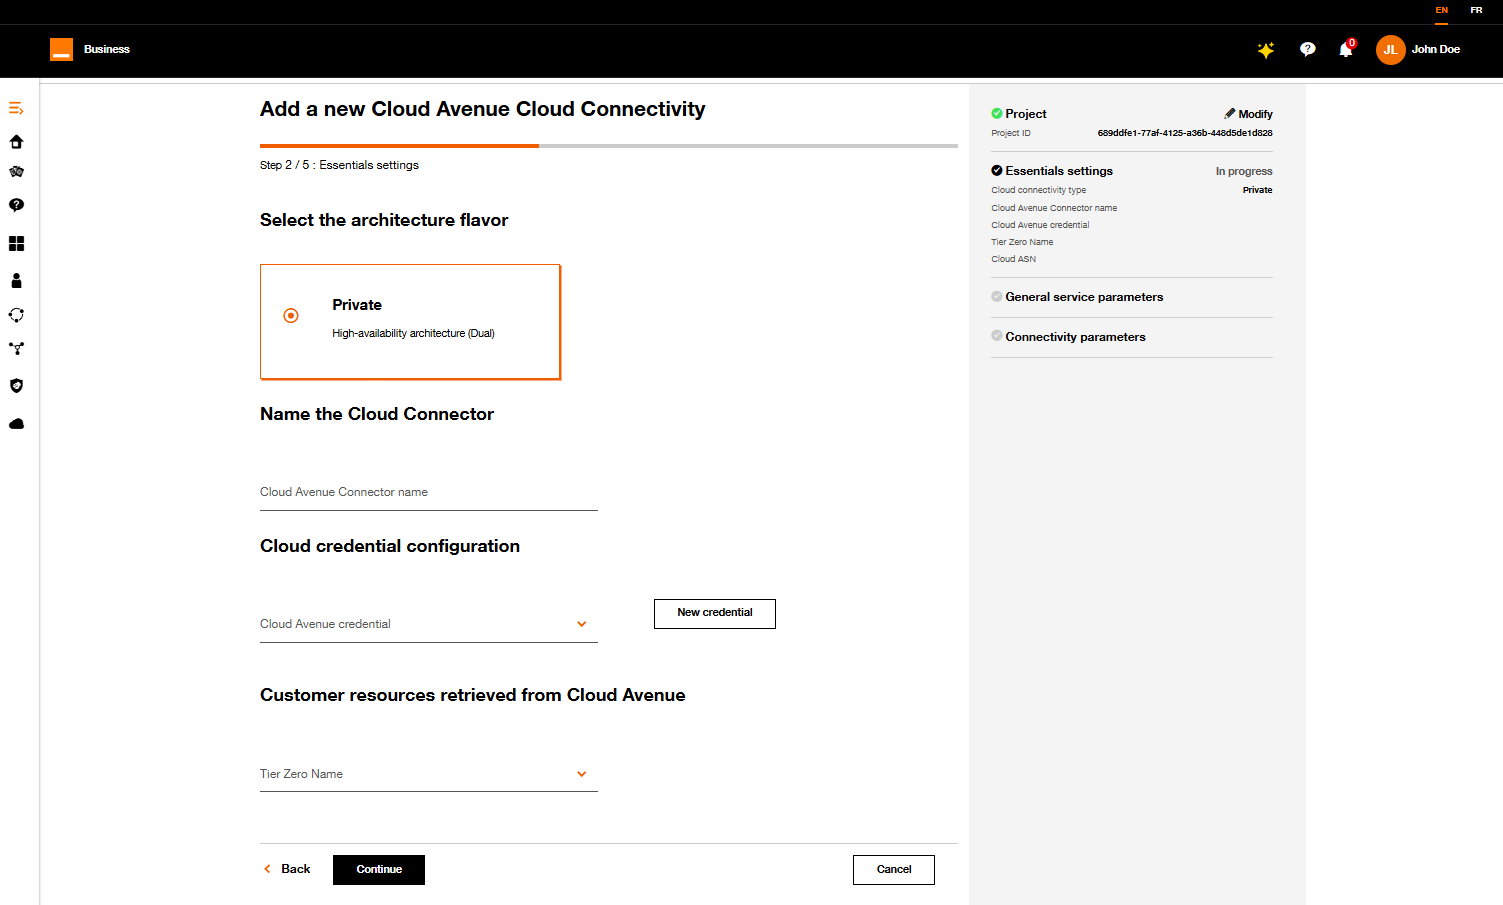
First settings form.
| Parameter | Description |
|---|---|
| Flavor | Choose Private tile |
| Cloud Connector Name | Define a name for your new Cloud Connector. |
| Cloud credential configuration | Select or create a Cloud Avenue set of credentials. |
| Tier Zero Name | Select the targetted Tier Zero retrieved from cloud Avenue with you set of credentials. |
Click on Next button.
Step 3 : Cloud configuration
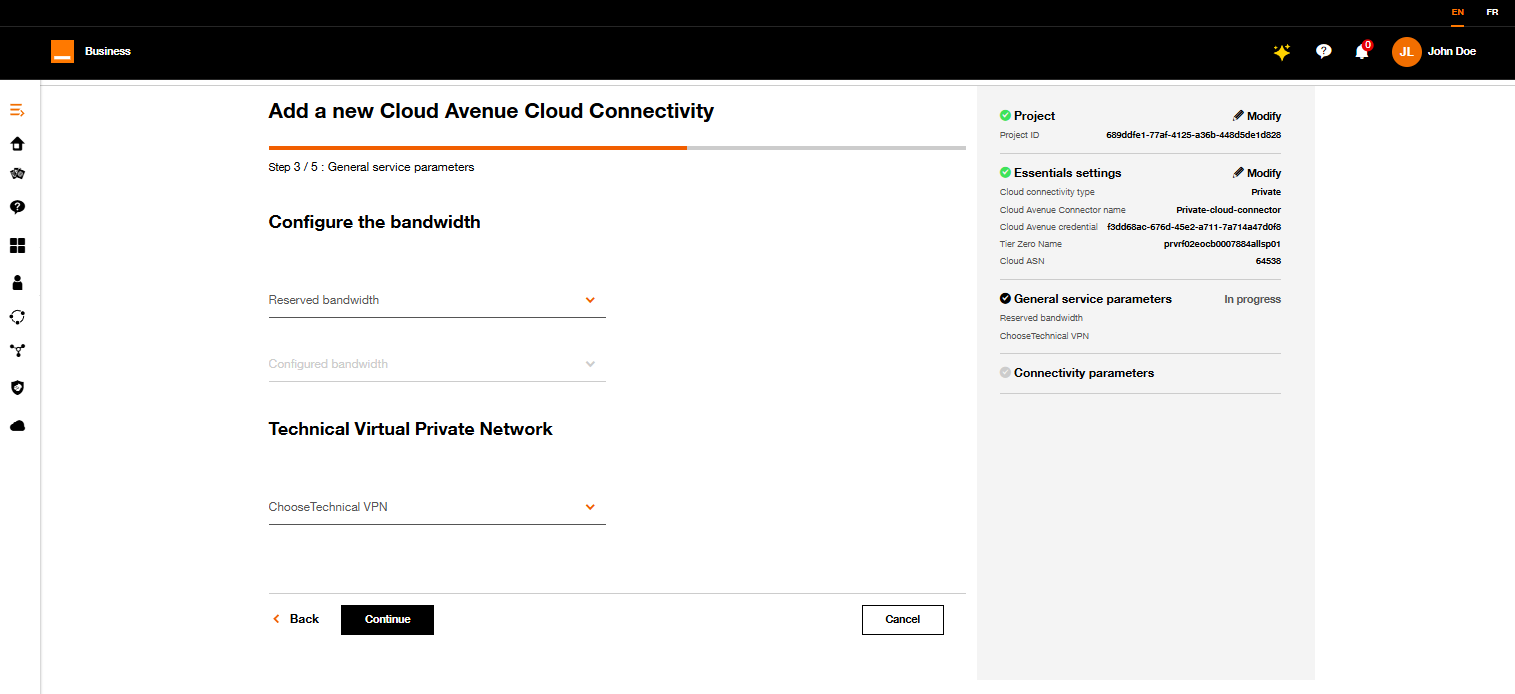
Configuration cloud.
Apply the following process:
- Select your reserved and configured bandwidth
- Choose your Technical Virtual Private Network
Click on Next button.
Step 4 : Connectivity parameters
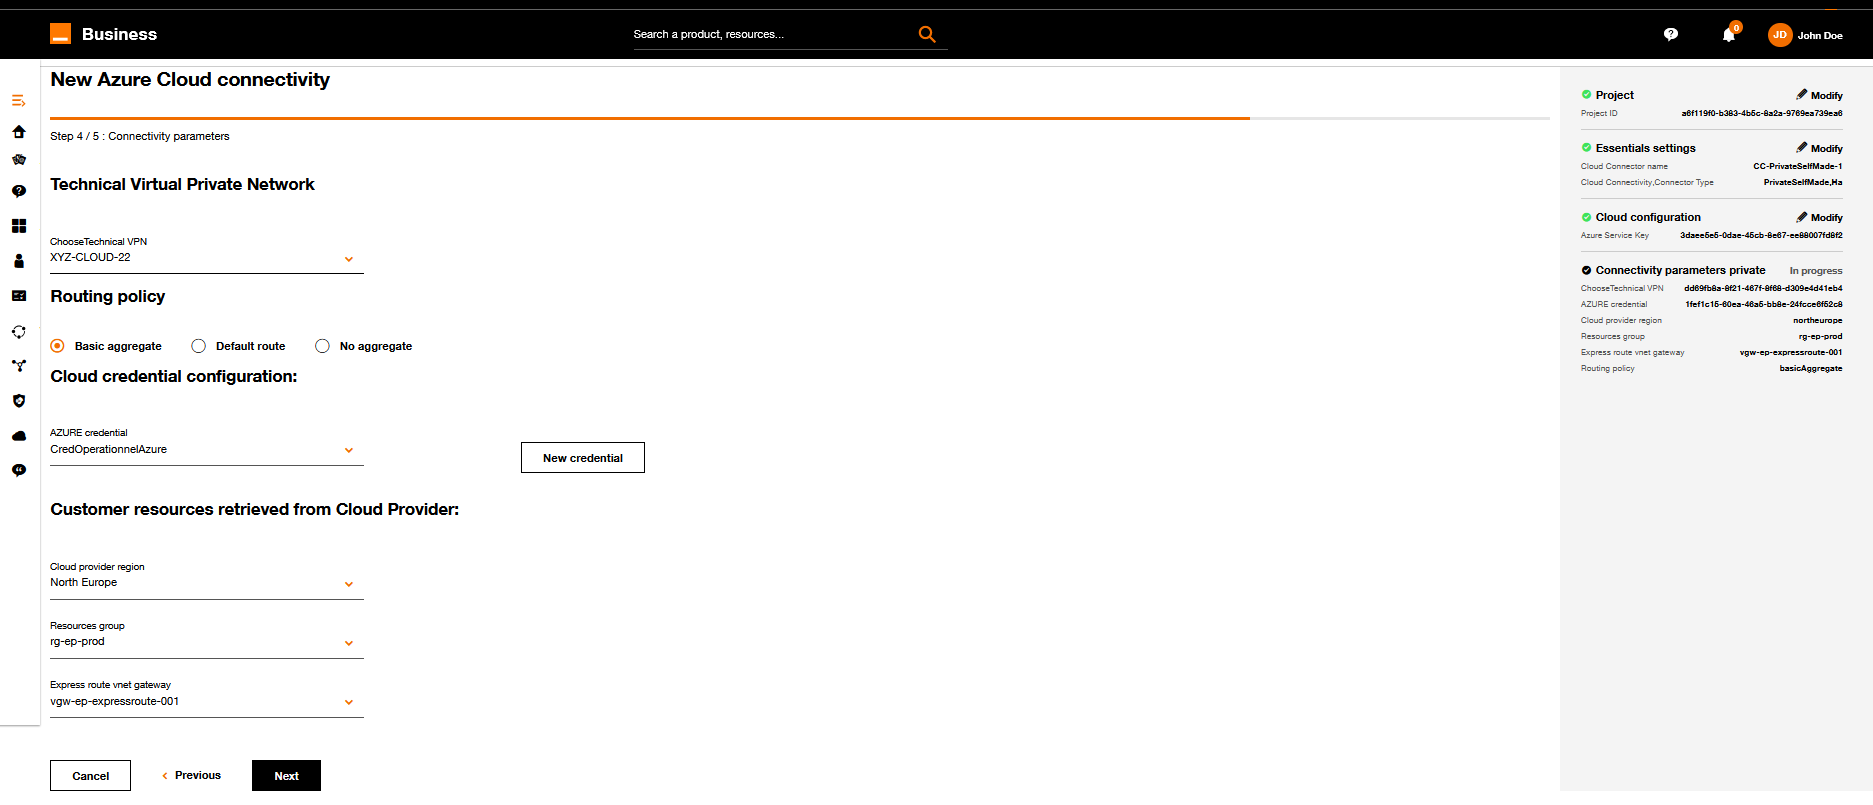
Update connector form step 4.
Apply the requested changes and click on Next when it's ok.
5. Connectivity parameters
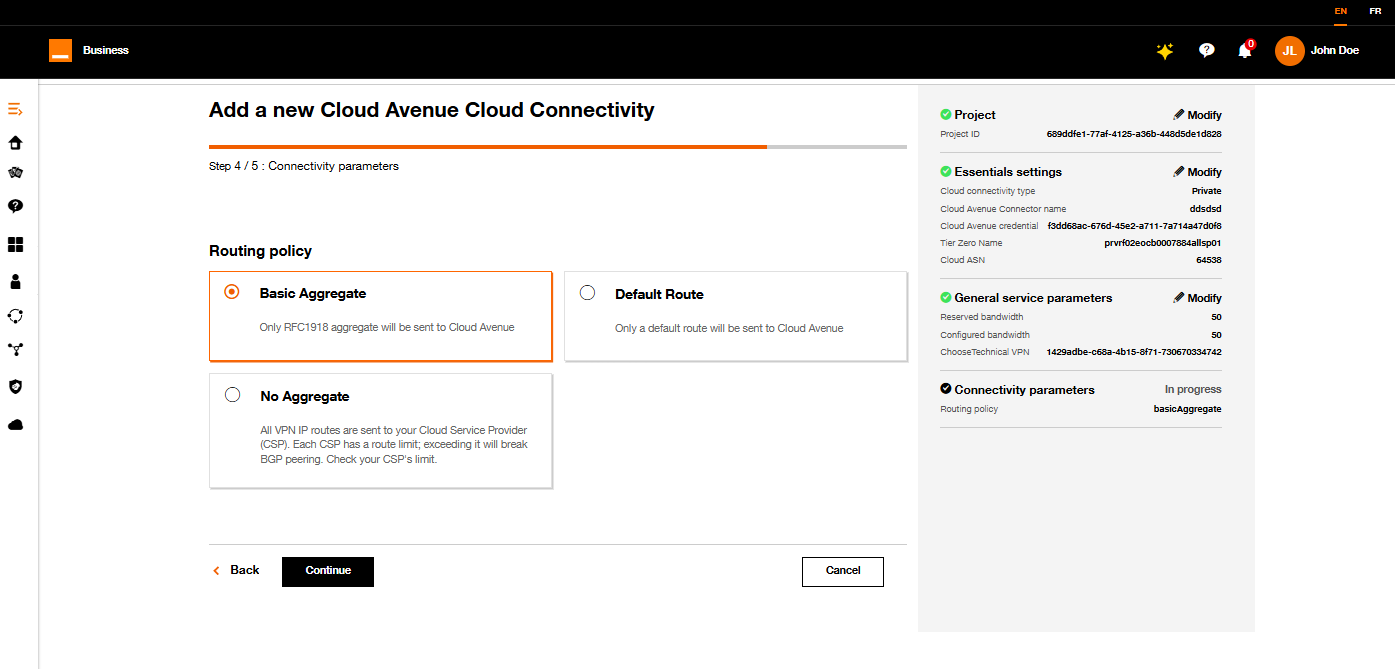
Create connector form step 5.
Choose the routing policy
| Routing policy | Description |
|---|---|
| Basic aggregate | only RFC1918 aggregate will be sent to Cloud Avenue. |
| Default route | Only a default route will be sent to Cloud Avenue. |
| No aggregate | All your VPN IP routes will be sent to AWS (Could cause a routing table overflow) |
Step 6 : Summary and pricing
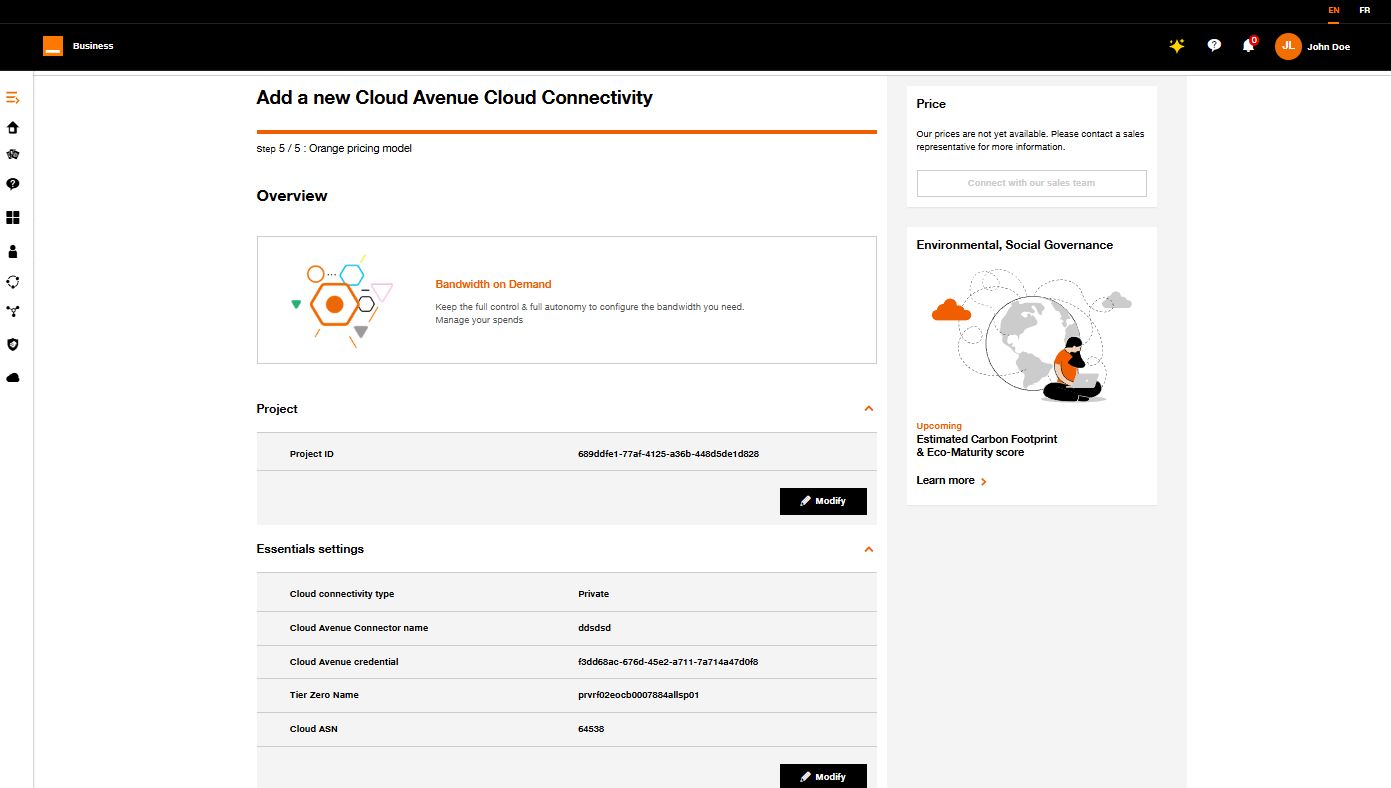
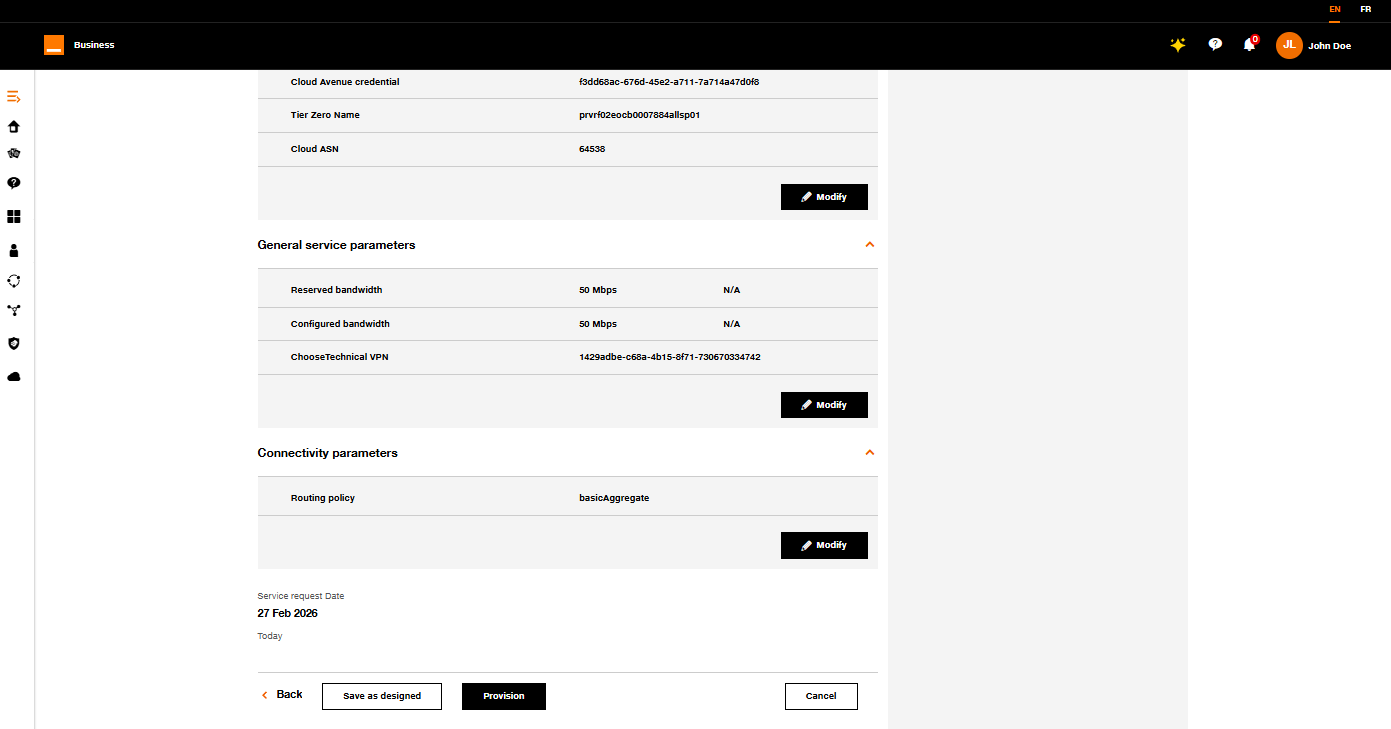
Update connector form step 6.
- On this screen you have on the right a summary of the cloud connector configuration.
- Soon you will have an estimated pricing for this configured cloud connector.
Click on Save as designed if you want to save your new configuration.
You will be able to provision the cloud connector from Cloud Connector Inventory. See Provision.
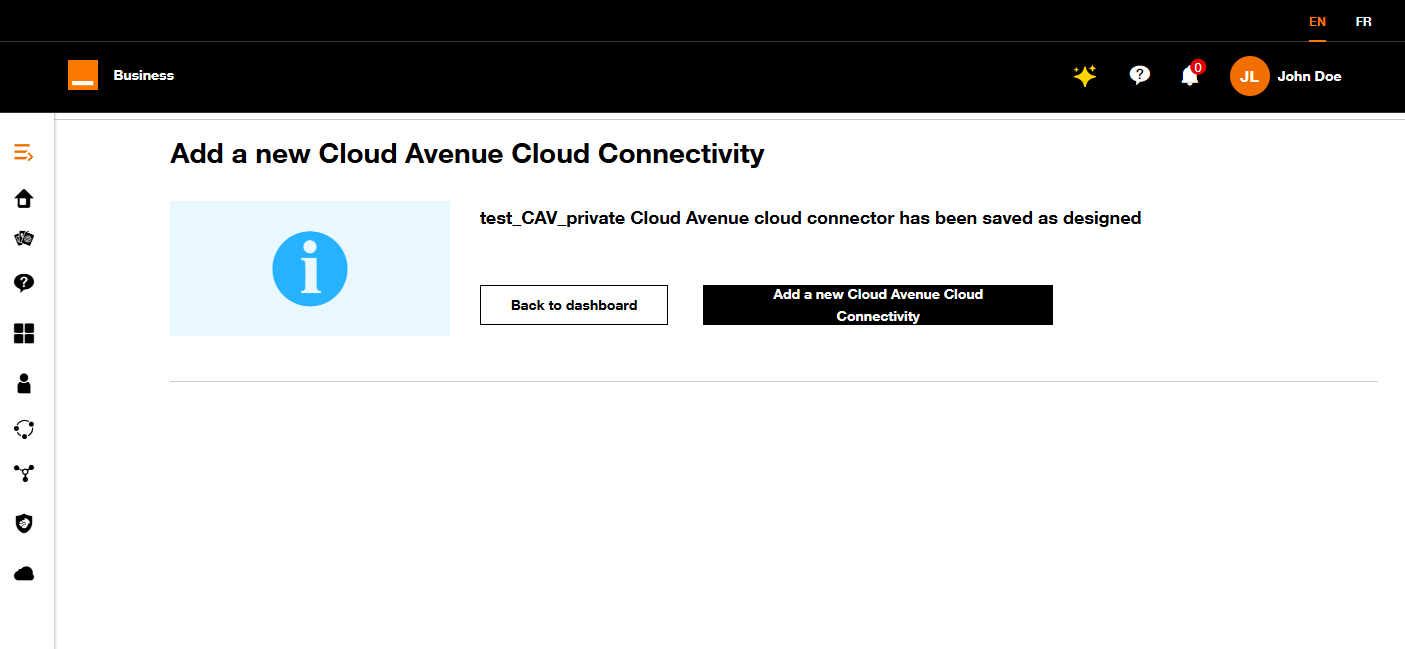
Confirmation de la modification.
If you click on Back to the dashboard, you can see your new cloud connector in the inventory.
Refer to Workflow Execution section.
Inventaire des connecteurs cloud.
If you click on Back to the dashboard, you can see your updated cloud connector in the inventory.
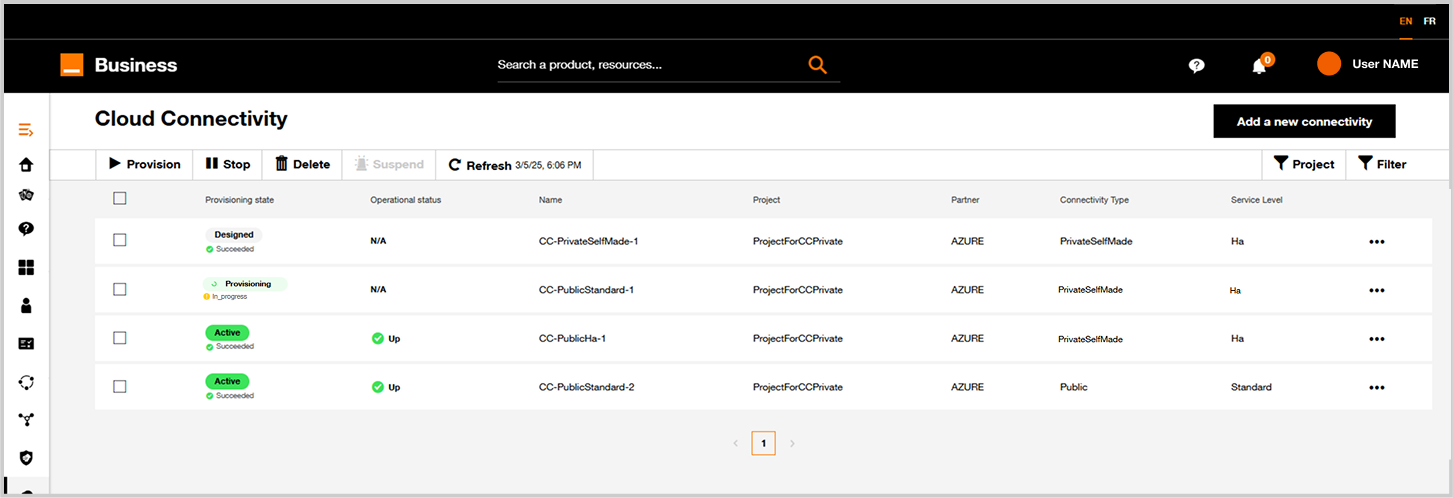
Cloud Connector inventory after a Cloud Connector update.