Equinix Network Edge - Add new connectivity
In this guide, we will walk you through the steps to provision or designed an Equinix cloud connector. Let's get started!
1. Add new connectivity
From the inventory, in the upper right, click on the Add new connectivity button.
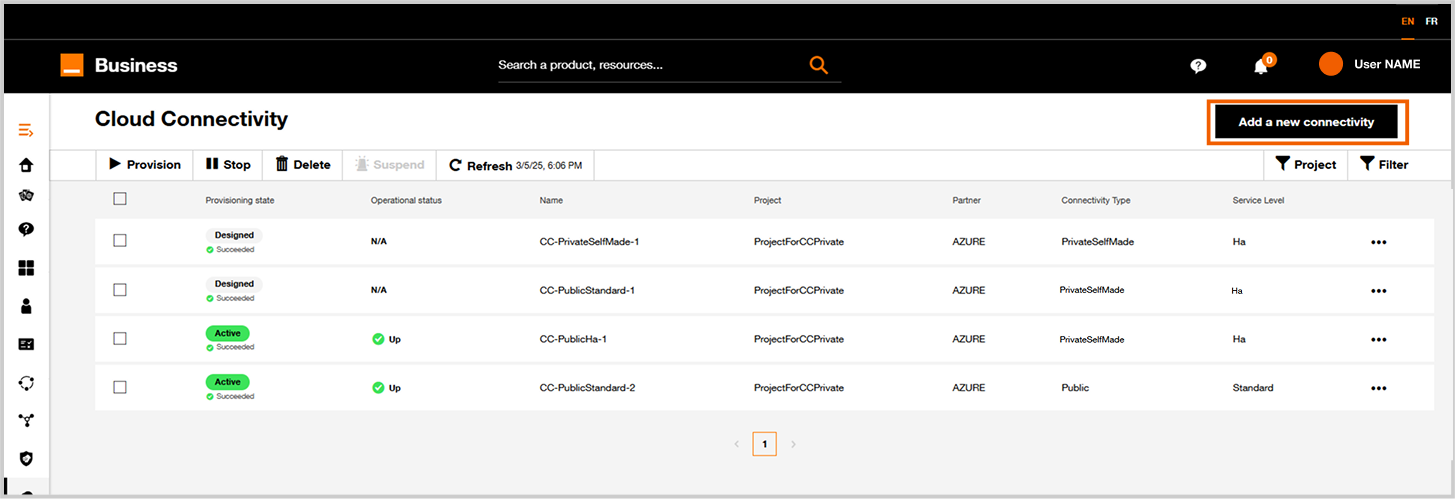
Add new connectivity.
2. Choose you service provider
For this exemple, click on Subscribe link in Equinix tile.
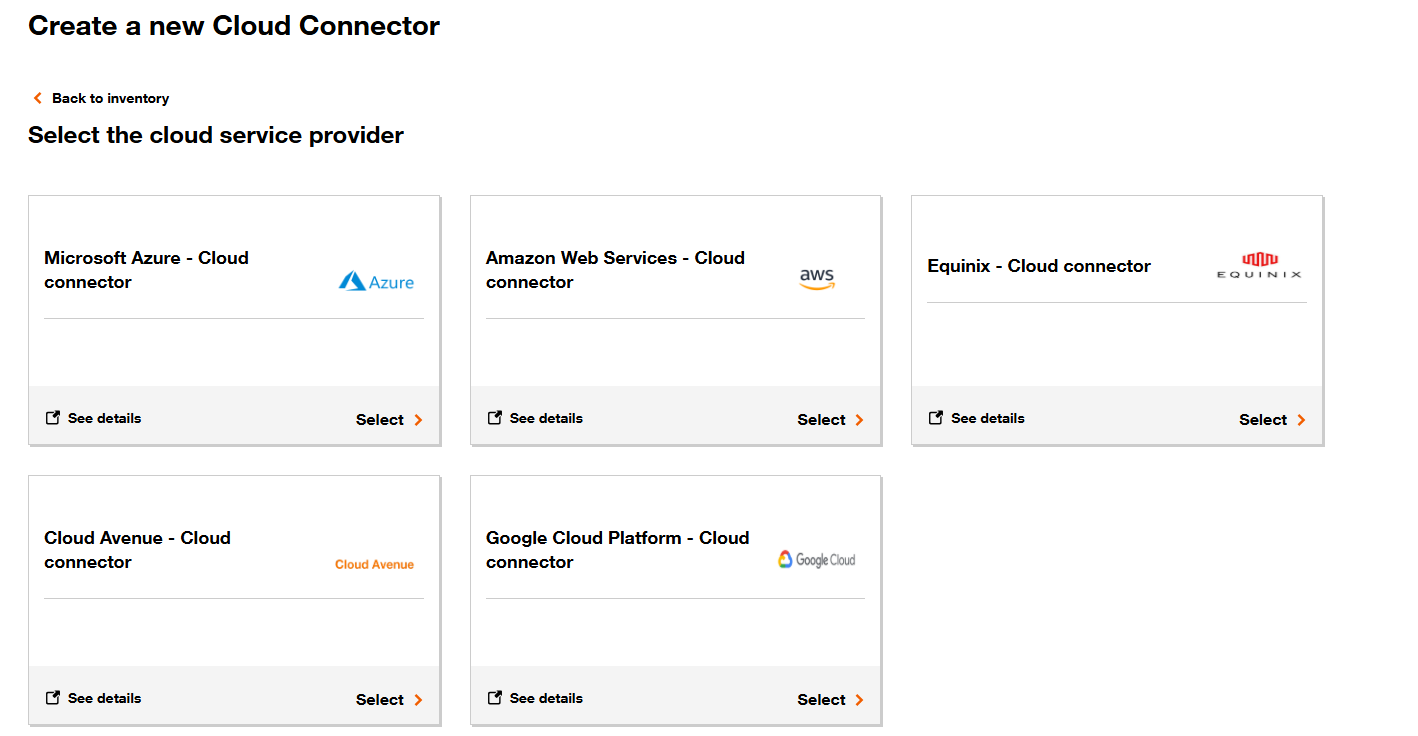
Cloud service provider
3. Select your project
Select an existing project for a cloud connectors hosting the Cloud connector.
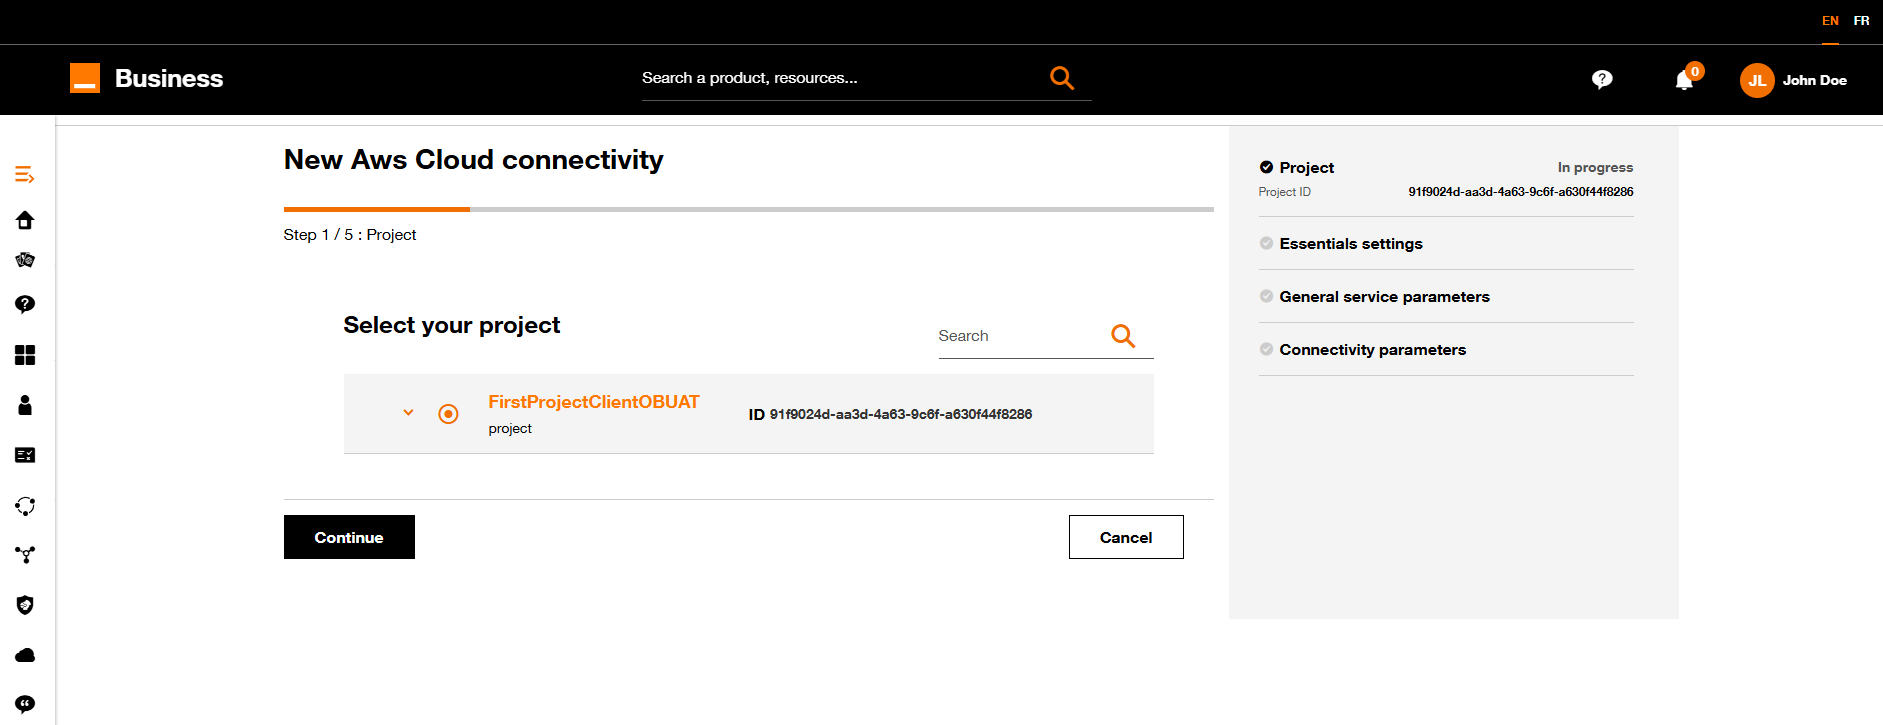
Select your project.
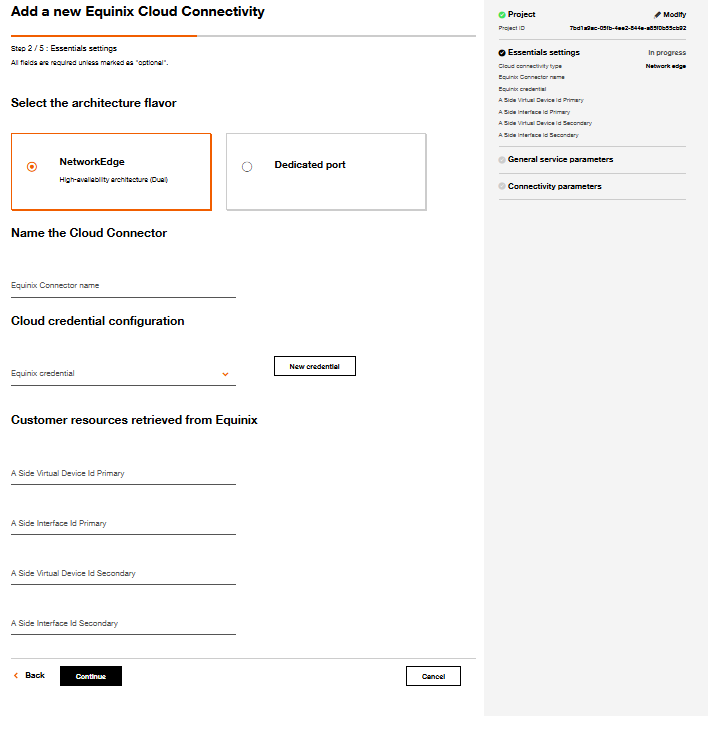
4. Essentials settings
Apply the following process:
- Choose
Network Edgetile. - Define a name for your new Cloud Connector.
- Select an Equinix credentials
And fill the following parameters :
| Parameter | Description |
|---|---|
| A Side Virtual Device Id Primary | Fill with the Device Id Primary of your network edge. |
| A Side Interface Id Primary | Fill with the Interface Id Primary of your network edge. |
| A Side Virtual Device Id Secondary | Fill with the Device Id Secondary of your network edge. |
| A Side Interface Id Secondary | Fill with the Interface Id Secondary of your network edge. |
Equinix Network Edge
If you've defined only one network edge instance, you need to set the same UUID for the fields : A Side Virtual Device Id Primary and A Side Virtual Device Id Secondary. In than case you have to use and define different "A Side Interface Id Primary" and "A Side Interface Id Secondary".
Click on Continue button
5. General service parameters
Apply the following process:
- Select Location
- Select Reserved Bandwidth
- Select Configured Bandwidth
- Select the Technical VPN you want to connect
Location represents where Orange Business network and Equinix network are directly connected.
Click on Continue button.
6. Connectivity parameters
| Parameter | Description |
|---|---|
| A Side Bgp Asn | Define the Asn you want to implement on your network edge for bgp routing. |
| IP Subnet Primary | Define /30 subnet you want to configure on the primary link with your network edge (CIDR notation). |
| IP Subnet Secondary | Define /30 subnet you want to configure on the secondary link with your network edge (CIDR notation). |
| Routing policy |
|
Apply the requested changes and click on Continue when it's ok.
7. Summary and pricing
On this screen you have on the right a summary and an estimated pricing for this configured cloud connector.
From this page you have multiple possibilities:
| Option | Description |
|---|---|
| Modification | Click on the Modify button of the section where you want to modify parameter or click on Back button to navigate to previous pages. |
| Cancellation | Click on the Cancel button. |
| Designing | Click on the Save as designed button if you want to save your new configuration. You will be able to provision last the cloud connector from Cloud Connector Inventory. See Provision. |
| Provisioning | Click on the Provision button to launch provisionning workflow. |