Cloud connector provisioning
In this guide, we will walk you through the steps to activate a cloud connector in designed state. Let's get started!
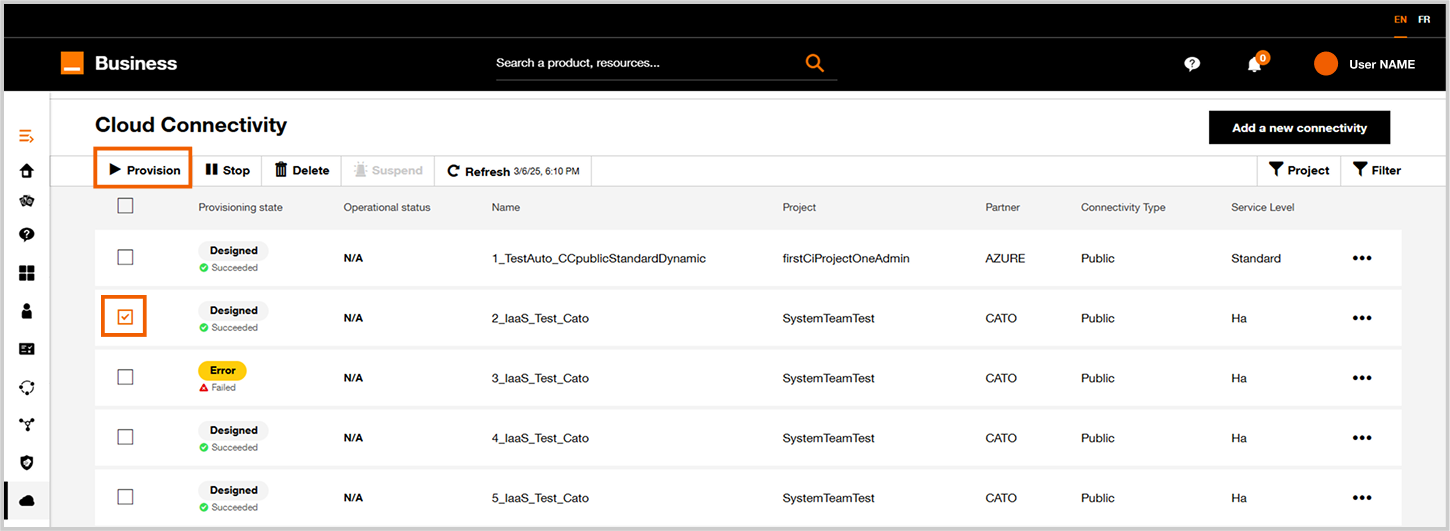
Select the Cloud Connector to activate and click on Provision
From Cloud connector inventory, select the cloud connector to activate and click on Provision.

Cloud connector inventory with a designed cloud connector ticked.

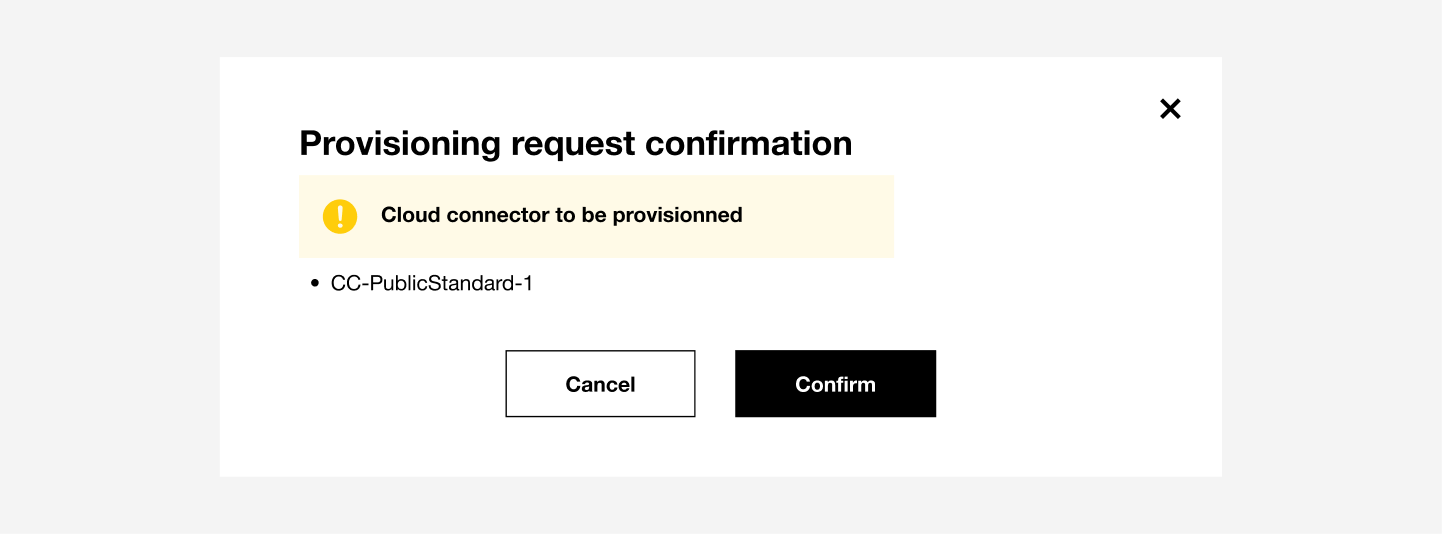
Request confirmation popup.
Click on Confirm to validate the provisioning action.
On the screen below the dashboard indicates that the selected cloud connector is being provisioned.

Cloud connector inventory with the second cloud connector in provisioning state.
At the end of the Provisioning workflow the Cloud Connector status will be "Active".
See Inventory and Workflow Execution for details.
The process of Provisioning the cloud connector may take approximately 15 minutes to 1 hour.
The billing for the cloud connector is started as soon as the Cloud Connector state is Active.