Public Cloud Connectivity - Provision
In this guide, we will walk you through the steps to activate an Azure cloud connector in designed status. Let's get started!
1. Select the Azure cloud connector menu
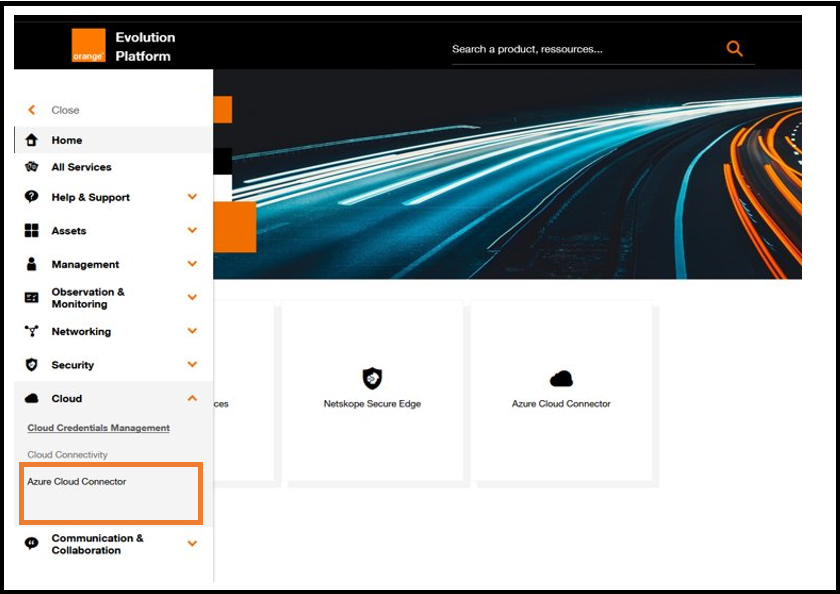
Access to Azure cloud connector menu.
2. Select the Azure cloud connector to activate and click on Provision
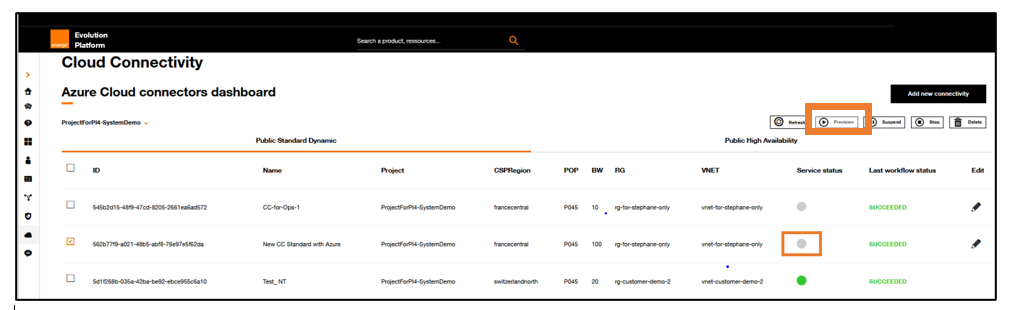
Azure cloud connector dashboard.
On the first screen the cloud connector is not activated. The second cloud connector is ticked for activation.
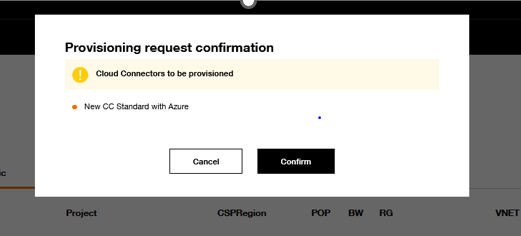
Request confirmation popup.
On the second screen below the dashboard indicates that the selected cloud connector is being provisioned.
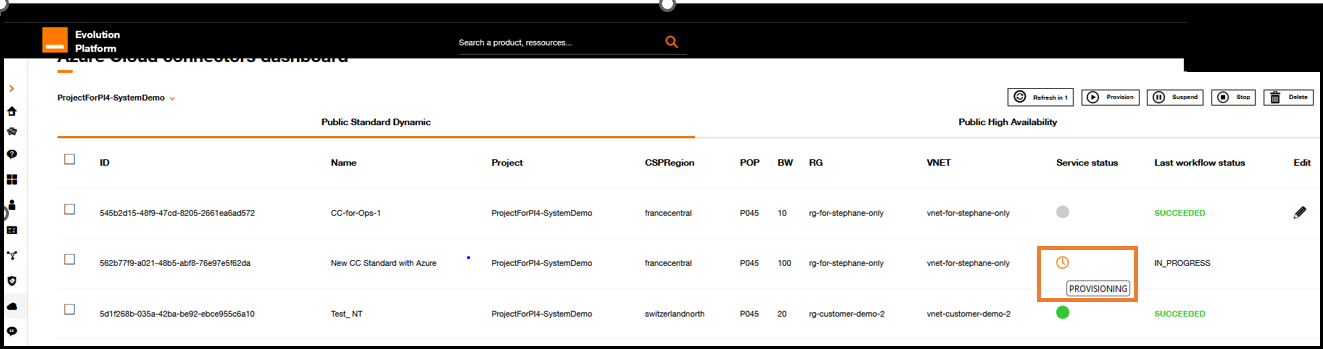
Azure cloud connector dashboard.
See Inventory and Execution workflow for details.